Introduction
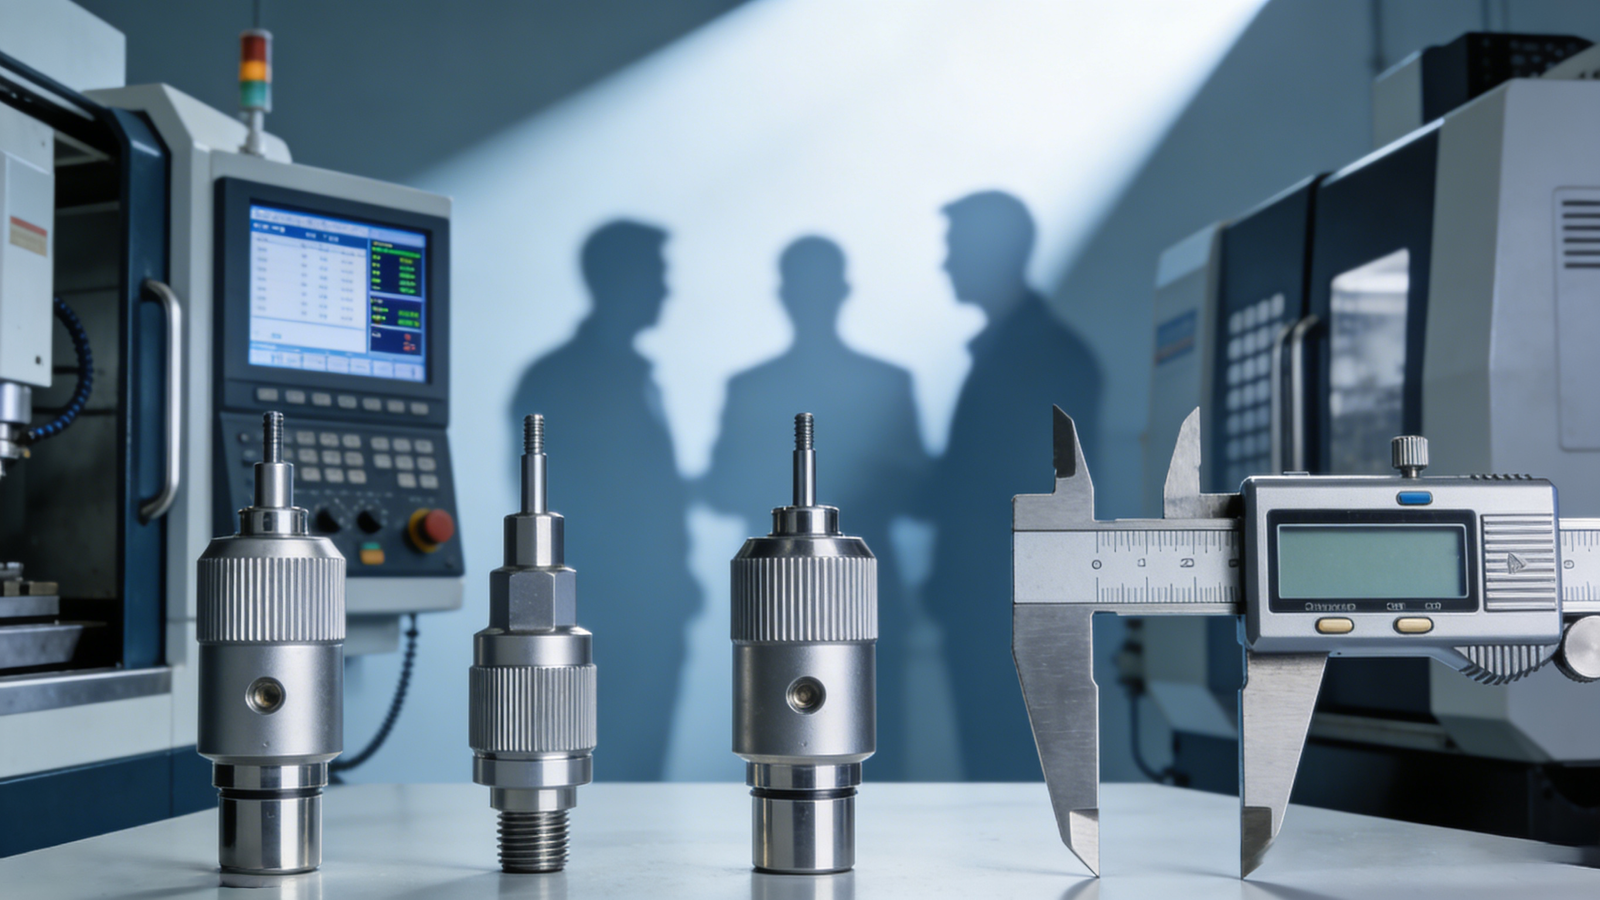
In sensor manufacturing, CNC-machined metal components are critical for system accuracy and reliability. Microscopic flaws or stresses can lead to catastrophic field failures, making adherence to internationally recognized quality standards non-negotiable. Xiamen Ruicheng understands that part quality is a direct reflection of your product’s integrity and market eligibility. Therefore, comprehensive ISO compliance is the fundamental language of trust between a precision machinist and a sensor manufacturer.
Navigating the landscape of ISO standards can be complex. Our role is to demystify these requirements, transforming them from a checklist into a clear, actionable framework for quality assurance. We move beyond basic specification sheets to provide the documented proof and process rigor that underpin reliable sensor performance. We partner with you to translate stringent international standards into tangible, risk-mitigating manufacturing outcomes.
Why is Controlling Machining Deformation Critical for Sensor Accuracy?
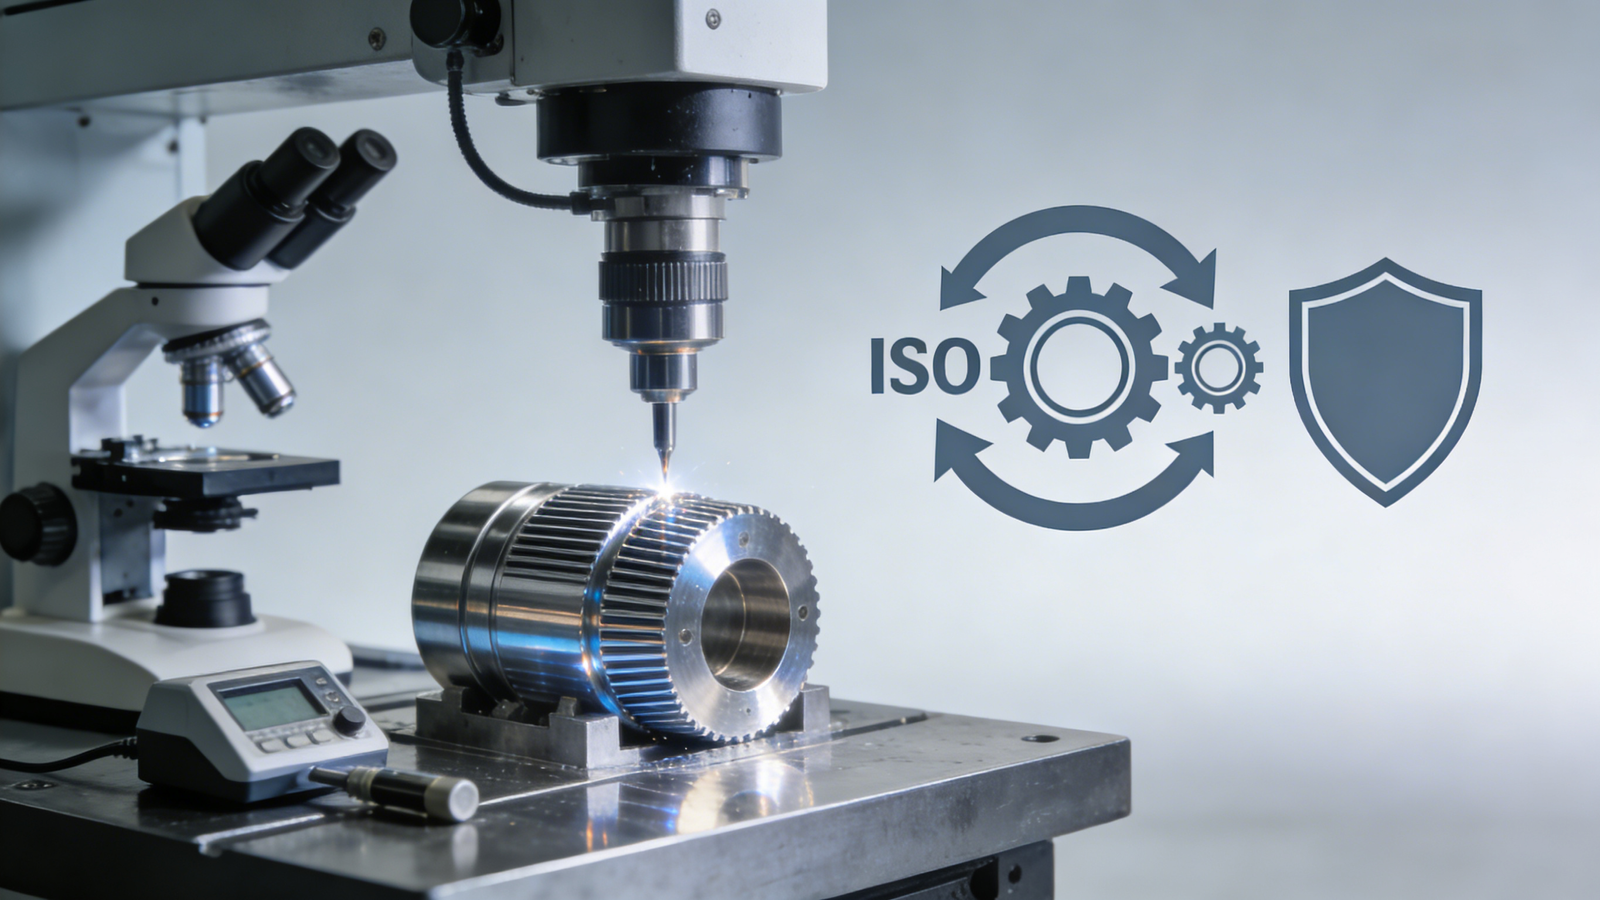
Deformation alters the precise geometry needed for proper sensor element alignment and function, directly causing signal drift and measurement error. For aluminum alloy housings and structures, this is a primary challenge. At Xiamen Ruicheng, we view deformation control as a systematic discipline, validated against standards like ISO 2768-mK for general tolerances. Uncontrolled deformation is not a flaw; it’s a design liability.
Datum Integrity Loss: Warped mounting surfaces misalign sensitive MEMS or optical elements, creating inherent, uncalibratable signal offsets that compromise baseline accuracy.
Long-Term Performance Drift: Residual stresses from machining can slowly release over time and temperature cycles, causing output signals to drift and undermining long-term sensor stability.
Fatigue and Failure Risk: Parts with internal stress are more susceptible to cracking under dynamic loads or thermal cycling, posing a reliability risk in demanding applications.
Production Inefficiency: Inconsistent part geometry due to variable deformation forces costly post-machining inspection, sorting, and assembly rework.
🎯 Precision machining must deliver geometrical stability, not just initial dimensional accuracy.
How Does Internal Stress Undermine Sensor Component Reliability?

Internal stress is locked-in strain from material processing and machining, acting as stored energy that can distort parts post-machining or in service. It is a primary culprit behind unpredictable geometric changes. Our methodology focuses on pre-emptive stress management through optimized heat treatment and machining strategies, with results benchmarked against material standards like ISO 683-1. Managing stress is about ensuring the part’s shape tomorrow matches its specification today.
Material State Management: We source stability-treated alloys (e.g., T651 temper) and validate incoming material consistency to establish a predictable baseline.
Strategic Process Sequencing: Implementing staged machining with intermediate stress-relief steps allows internal forces to dissipate before final, precision cuts are made.
Low-Stress Machining Techniques: Using parameters and toolpaths that minimize heat and mechanical work hardening reduces the addition of new stresses during manufacturing.
Verification and Data: For critical components, we utilize residual stress measurement techniques to provide quantitative assurance of component stability.
🔬 Proactive stress management is a cornerstone of producing truly reliable precision components.
What Process Innovations Minimize Deformation in Aluminum Sensor Parts?
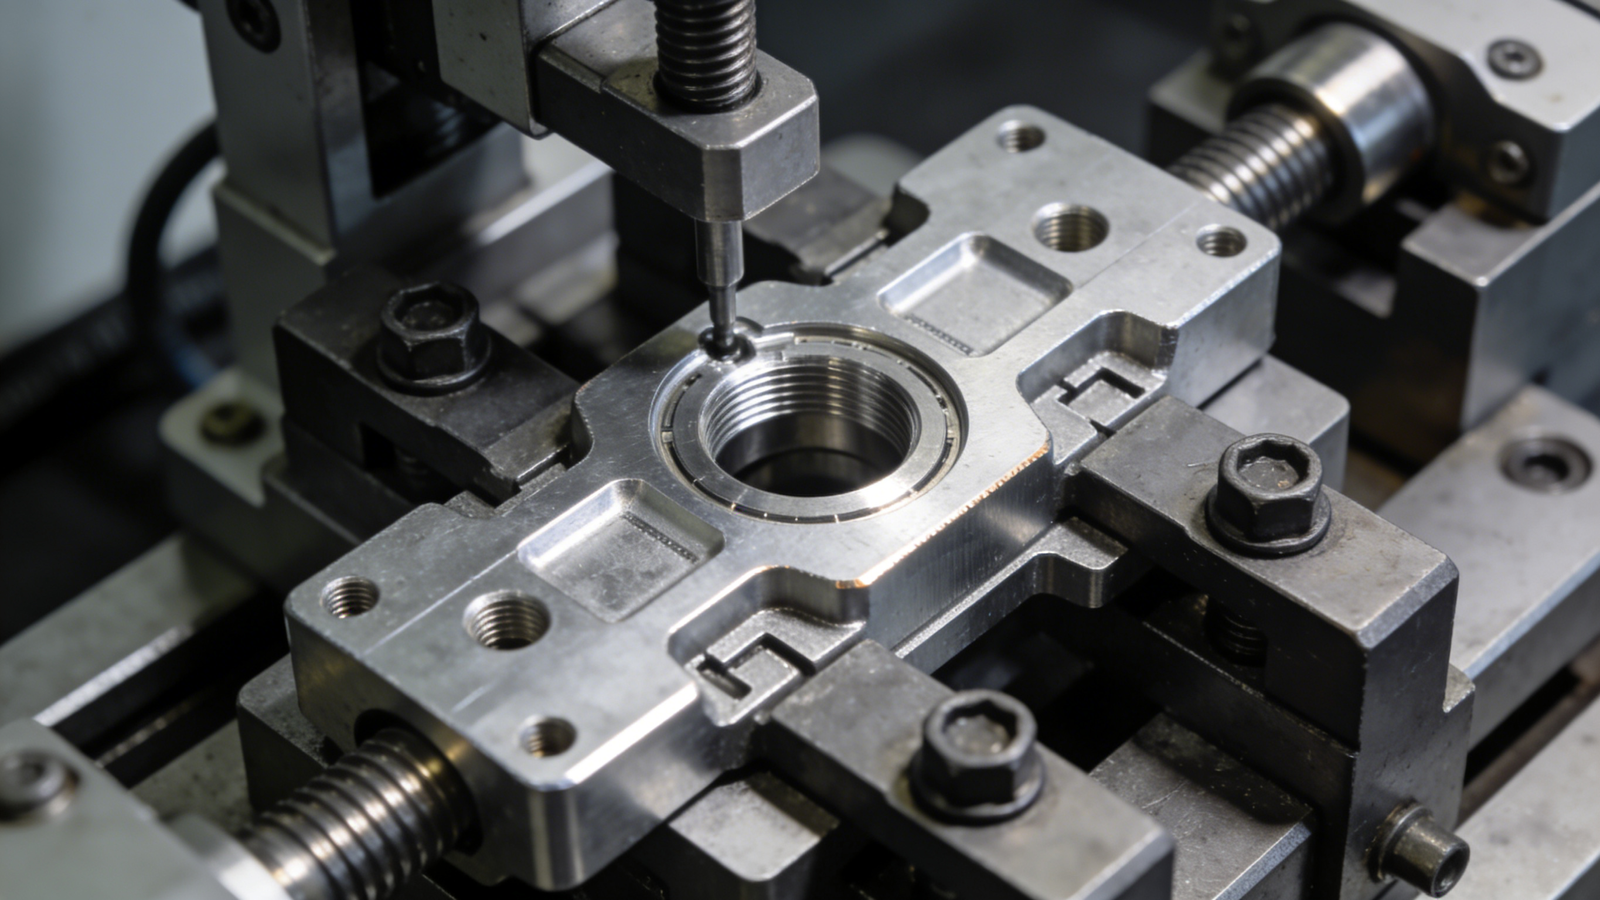
Eliminating deformation requires mastering the cutting process itself. We integrate technologies like High-Speed Machining (HSM) and dynamic toolpaths to maintain stable, low-force cutting conditions. The efficacy of our approach is reflected in compliance with machine tool performance standards ISO 10791 and surface finish standards ISO 1302. Advanced process control is what makes consistent, high-precision outcomes achievable.
High-Efficiency Milling (HEM): This technique uses adaptive toolpaths and controlled radial engagement to distribute heat and force evenly, protecting the part from thermal and mechanical distortion.
Thermal Management: We employ advanced coolant strategies and in-process monitoring to maintain a stable thermal environment, a critical factor for aluminum alloys.
Intelligent Fixturing: Custom workholding solutions are designed to secure parts with minimal, evenly distributed clamping force, preventing distortion at the source.
Simulation-Driven Planning: Machining simulations predict and mitigate potential deformation issues digitally before any metal is cut, saving time and ensuring right-first-time production.
⚙️ The right process doesn’t just cut metal; it preserves the integrity of the design.
Key ISO Standards for Sensor Metal Part Sourcing
| Standard | Core Focus | Relevance to Sensor Parts | Value to You |
|---|---|---|---|
| ISO 9001:2015 | Quality Management System | Ensures consistent, controlled processes for all manufacturing activities. | System Trust: Proof of a repeatable, improving quality system for lower partnership risk. |
| ISO 13485:2016 | Medical Device QMS | Mandatory for parts in medical sensors. Focuses on risk management and full traceability. | Regulatory Gateway: Essential certification for supplying the medical device industry. |
| IATF 16949:2016 | Automotive QMS | Critical for automotive sensors. Emphasizes defect prevention and supply chain control. | Market Access: The quality passport for entering global automotive supply chains. |
| ISO 2768-mK | General Dimensional Tolerances | Defines acceptable limits for dimensions without individual tolerances on drawings. | Clarity & Efficiency: Provides a clear, common inspection baseline to avoid delivery disputes. |
Need parts that meet these standards? Let’s discuss your project requirements. contact us
Building a Comprehensive Quality Partnership with Xiamen Ruicheng
Meeting standards is our baseline. We aim to be a true extension of your engineering team, offering depth where others offer only documentation. Our partnership provides the technical insight and proactive quality measures that safeguard your sensor designs from concept to volume production. We deliver not just parts, but confidence, enabled by a system built on international standards and practical expertise.
1.Integrated Compliance Framework: Our ISO 9001 system is tailored to incorporate the rigorous controls of ISO 13485 or IATF 16949 as needed by your industry, ensuring seamless support for your audits.
2.Science-Based Deformation Control: Our approach combines material science, predictive engineering, and real-time process monitoring to guarantee part stability, which is critical for sensor performance.
3.Full Traceability & Documentation: You receive a complete data package—from material certs to final inspection reports—that provides undeniable proof of compliance and simplifies your quality audits.
4.Collaborative Problem-Solving: We engage early in the design phase to optimize parts for manufacturability and reliability, helping you avoid costly pitfalls before tooling begins.
FAQ: Sensor Parts Machining & ISO Compliance
Question: What is your core quality differentiator for high-precision sensor parts?
Answer: Our differentiator is the integration of certified systems (ISO 9001) with deep technical mastery over deformation and stress control—the key to sensor accuracy. We provide documented evidence of this control, aligning with key product standards like ISO 2768, ensuring parts are stable and reliable long after they leave our facility.
Question: What do you need to provide a quote for sensor housings?
Answer: For a fast, accurate quote, please provide: 1) 2D/3D drawings with critical tolerances, 2) Material spec (e.g., Al 6061-T6), 3) Annual volume estimates, and 4) End-use (e.g., industrial, automotive). We typically respond within 2 hours with a preliminary review and a detailed quote within 12 business hours.
Question: What are your lead times and MOQs for prototyping vs. production?
Answer: We are flexible: Prototyping (MOQ 5-50 pcs, 5-10 days), Pilot Runs (50-500 pcs, 10-15 days), Production (500+ pcs, 15-25 days, with volume pricing). We have dedicated lines for urgent projects and can discuss safety stock arrangements.
Question: What is your policy if parts do not meet specifications?
Answer: We guarantee conformity. A 7-day quality dispute period is standard. For any verified non-conformance, we commit to a resolution (replacement, rework, or credit) within 48 hours of confirmation, covering associated logistics.
Question: Can you handle custom materials or processes for extreme environments?
Answer: Yes. We regularly develop solutions for harsh conditions (vibration, thermal cycling, corrosion). Share your application parameters, and our engineering team will provide a feasibility analysis and custom process plan within 3 working days.
Conclusion
Selecting a machining partner for sensor components is a strategic decision impacting product viability. Xiamen Ruicheng provides more than standard compliance; we offer a partnership grounded in the technical discipline required to solve core challenges like deformation and stress. This ensures your sensors are built on a foundation of proven precision and unwavering reliability. Partner with us to transform international standards into your competitive advantage in the market.
For expert assistance in implementing High-Precision CNC Metal Parts for your sensor production needs, visit our resource center or contact us. Let’s help you scale up your manufacturing with precision and efficiency!
Email: marketing@chinaruicheng.com
WhatsApp: +8615980769781
Contact page: https://custommetalpro.com/contact-us/

